1. Getting Started with FCN Pre-trained Models
This is a quick demo of using GluonCV FCN model. Please follow the installation guide to install MXNet and GluonCV if not yet.
import mxnet as mx
from mxnet import image
from mxnet.gluon.data.vision import transforms
import gluoncv
# using cpu
ctx = mx.cpu(0)
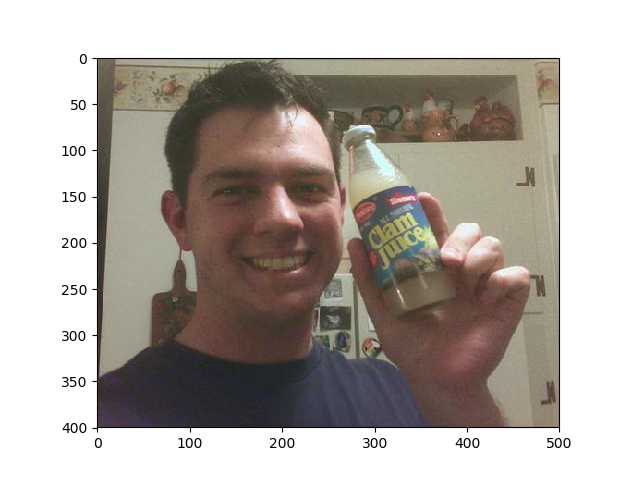
Prepare the image
download the example image
url = 'https://raw.githubusercontent.com/zhanghang1989/gluon-vision-figures/master/voc_examples/1.jpg'
filename = 'example.jpg'
gluoncv.utils.download(url, filename)
load the image
with open(filename, 'rb') as f:
    img = image.imdecode(f.read())

from matplotlib import pyplot as plt
plt.imshow(img.asnumpy())
plt.show()
normalize the image using dataset mean
transform_fn = transforms.Compose([
    transforms.ToTensor(),
    transforms.Normalize([.485, .456, .406], [.229, .224, .225])
])
img = transform_fn(img)
img = img.expand_dims(0).as_in_context(ctx)
Load the pre-trained model and make prediction
get pre-trained model
model = gluoncv.model_zoo.get_model('fcn_resnet101_voc', pretrained=True)
make prediction using single scale
output = model.evaluate(img)
predict = mx.nd.squeeze(mx.nd.argmax(output, 1)).asnumpy()
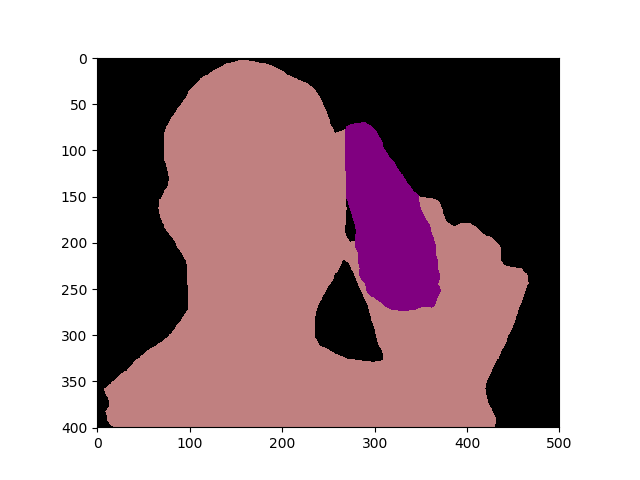
Add color pallete for visualization
from gluoncv.utils.viz import get_color_pallete
import matplotlib.image as mpimg
mask = get_color_pallete(predict, 'pascal_voc')
mask.save('output.png')
show the predicted mask
mmask = mpimg.imread('output.png')
plt.imshow(mmask)
plt.show()
- More Examples


Total running time of the script: ( 0 minutes 5.013 seconds)